The WordPress FoxLMS Plugin is a powerful learning management tool that helps educators, business owners and organization owners create and manage online courses. It offers a wide range of functionalities and powerful integrations to create and manage online courses easily.
With the help of this extensive plugin, after the successful completion of all courses, the course takers can download Certificates right from the front end. To do so, you need to install the FoxLMS Certificate addon on the WordPress website.
In this article, we will explore the steps to install and use the Certificate addon with the FoxLMS Plugin.
Installing Certificate addon #
Firstly, you need to install the Certificate addon on your WordPress website. To do so, please follow these easy steps:
- Head to the FoxLMS Plugin > Certificates page.
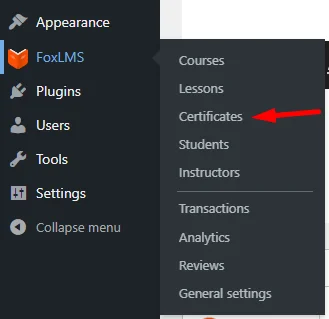
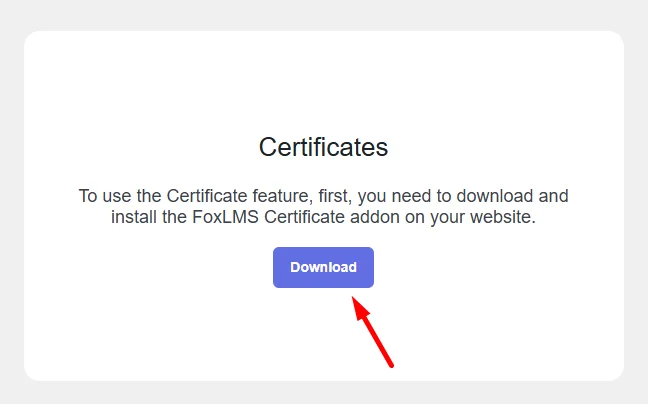
- There, click on the Download button. If you have inserted the License Key for the FoxLMS Plugin correctly, then, the Certificate addon will be downloaded for you.
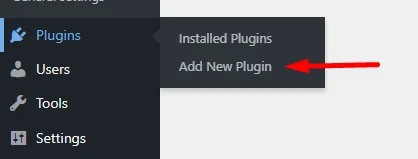
- Once the Certificate zip file is downloaded, you can go to the Plugins page > Add New Plugin. Then, upload the zip file of the Certificate addon and click on the Install Now button.

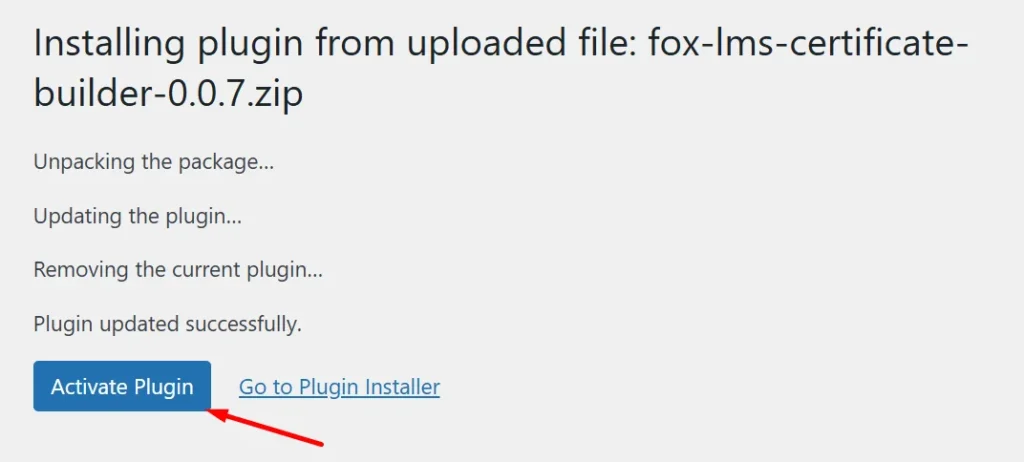
- Then, click on the Activate button to finalize the Certificate addon installation process.
You can check the Update Guide to learn how to take and insert the License Key of the FoxLMS Plugin.
Creating a Certificate #
Once the Certificate is downloaded and installed on your Dashboard, you can start creating a Certificate.
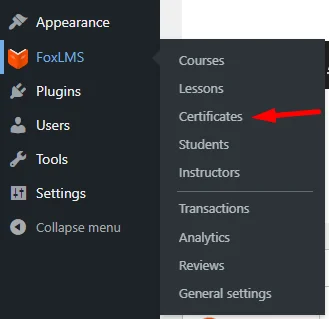
For that, please head to the FoxLMS Plugin > Certificates page and click on the Add New button.
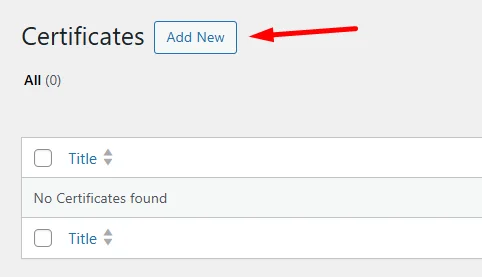
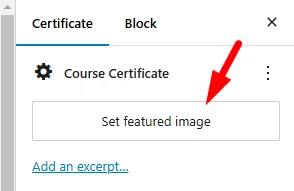
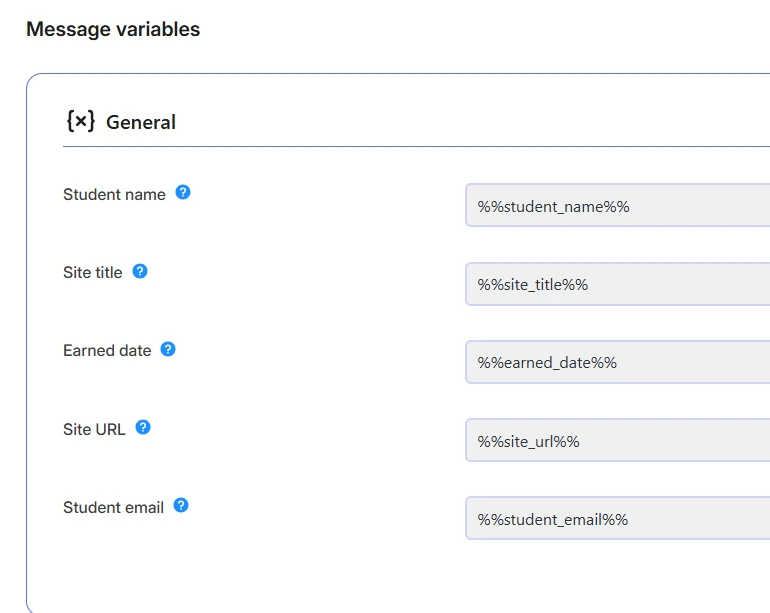
The Certificate feature is developed to work via Gutenberg Block, so you can customize it the way you prefer. You can write a title for the Certificate, set a background image with the Featured Image option, and add your desired texts, images, and message variables to the Certificate.
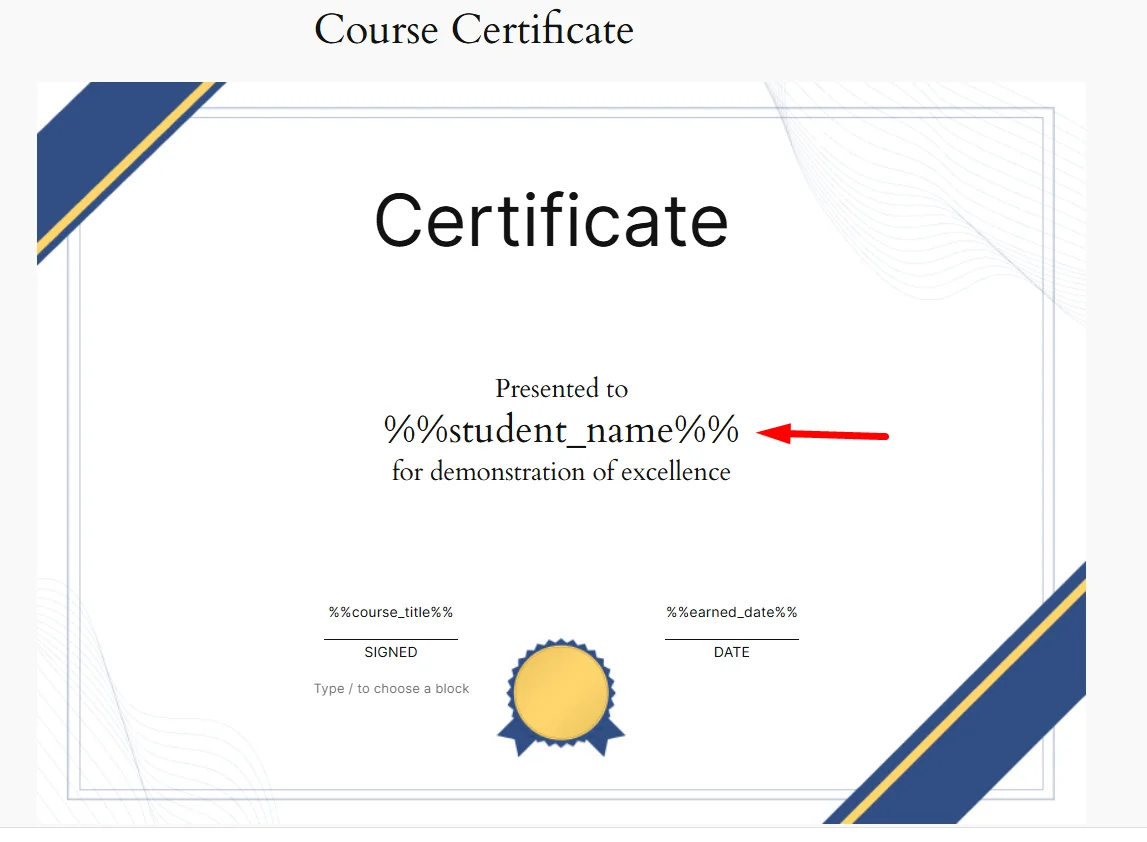
Not only you can customize the Certificate with Gutenberg Block, but you can also add your desired FoxLMS Message variables to the Certificate. To check the steps of using the FoxLMS Message variables, you can check the Message Variables Article.
Adding Certificate to the Course #
Once you have created, configured, and published the Certificate, it is high time to attach the Certificate to the Course. For that, follow these steps:
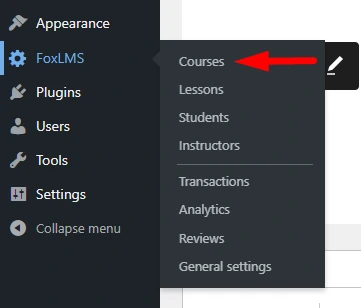
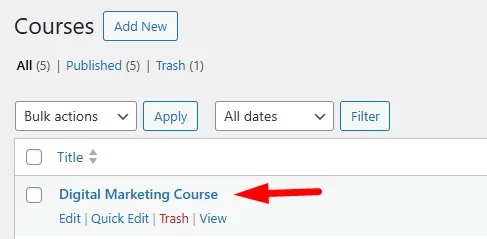
- Head to the FoxLMS Plugin > Courses page > given course.
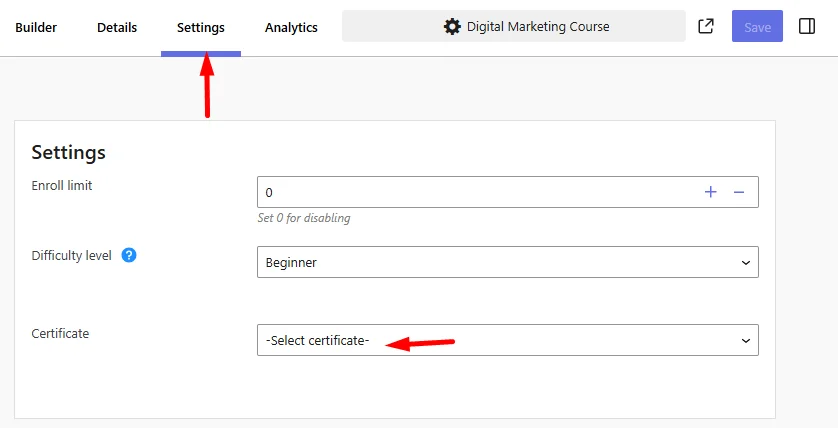
- Then, head to the SettingsTab.
- Choose the Certificate you have created for the Certificate option and save the changes.
By following these steps, the course taker can download the Certificate right after the full course completion from the front end.
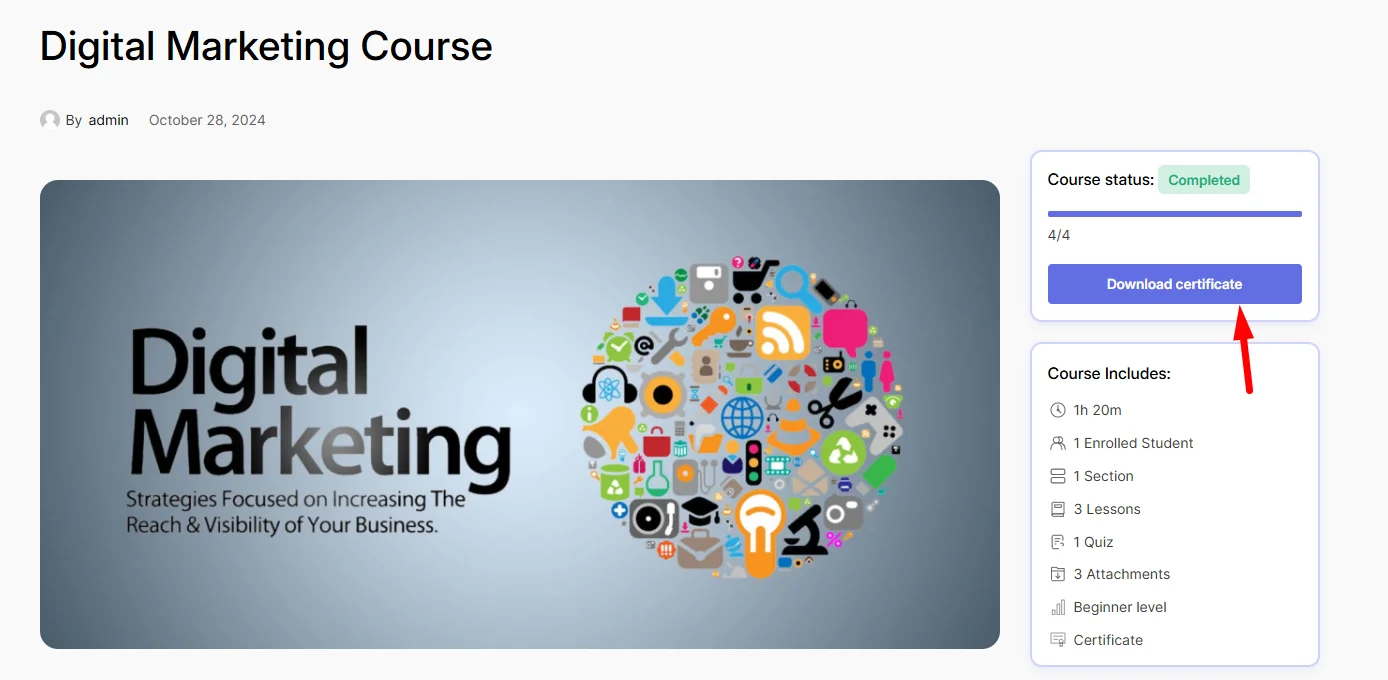
That’s all. In this article, we have learned how to install and use the Certificate addon of the WordPress FoxLMS Plugin. Don’t forget to check the Explainer Video for the FoxLMS Plugin to see all these steps in action.


