If you are an educator, business owner, or an owner of an organization, then, you can use the WordPress FoxLMS Plugin to create and manage online courses on WordPress. This is a powerful and extensive tool to create an unlimited number of courses, lessons, and users.
The WordPress FoxLMS Plugin has an integration with the WordPress Quiz Plugin to create advanced quizzes and attach them to the courses. Besides this integration, the plugin also integrates with PayPal, one of the most popular and secure payment platforms available in the market. In this article, let’s learn how to configure the PayPal Settings and create a paid course.
PayPal Settings Configuration #
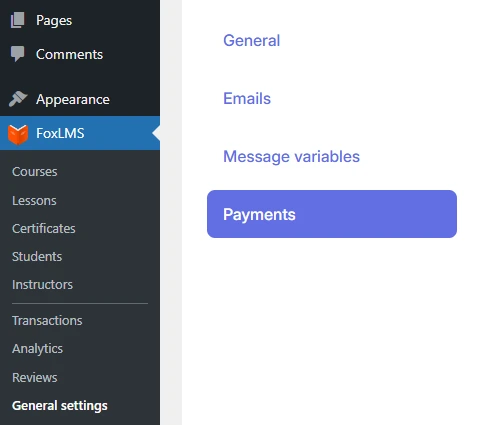
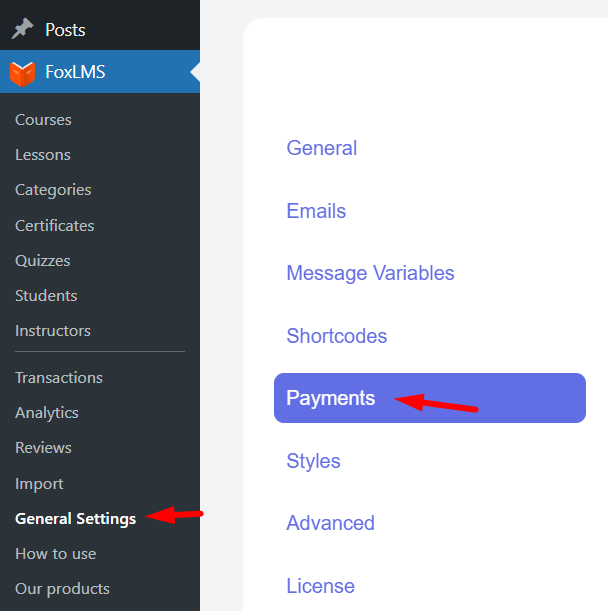
To find the PayPal Payment Integration, head to the WordPress FoxLMS Plugin > General Settings page > Payments Tab.
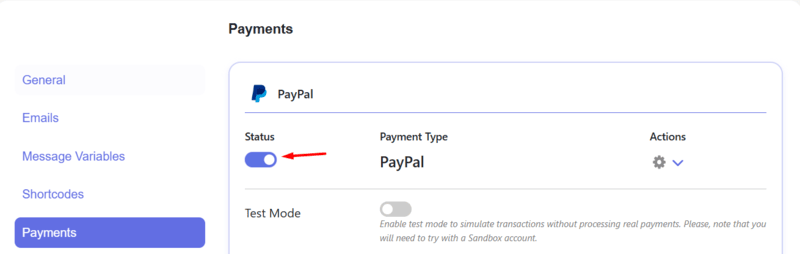
To enable the PayPal Payment method, click and activate the Status toggle.
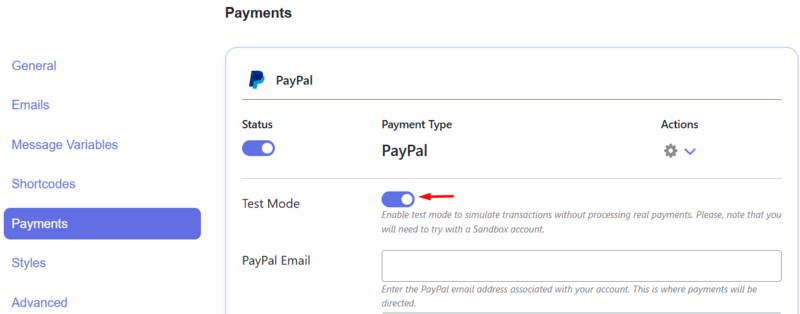
Also, if you want to use PayPal in a test mode, you can tick the Test mode Toggle.
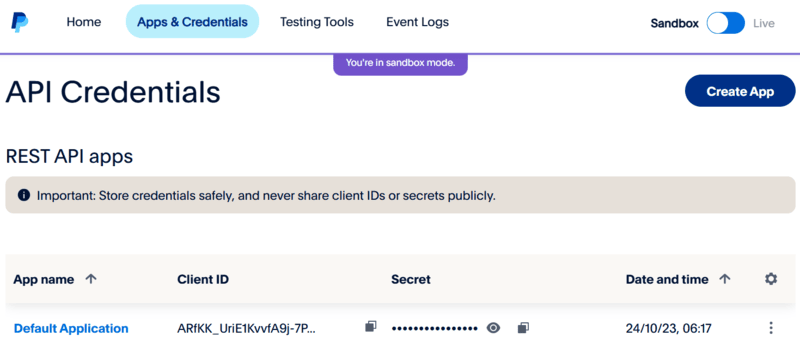
After this, you need to fill in the PayPal Email, Client ID, and Secret Key.
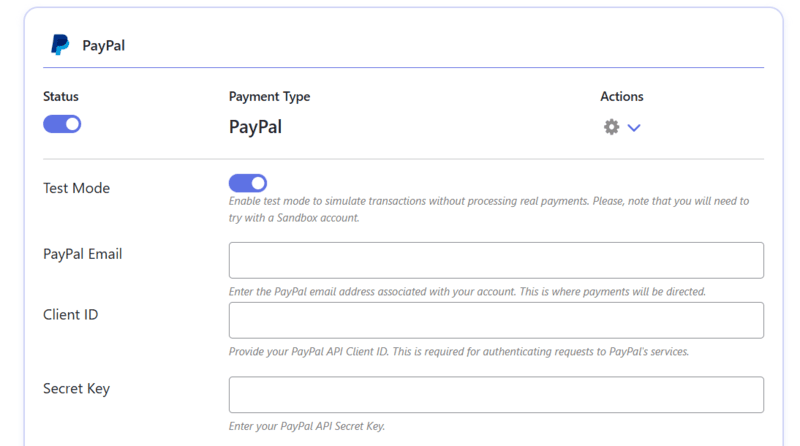
You can take this data from your PayPal Dashboard.
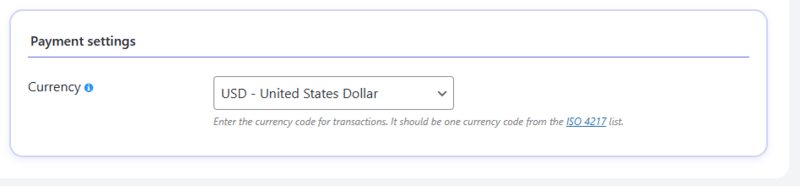
Once you have set up the PayPal payment method, choose the Currency.

Once you have correctly configured all the settings, you can save the changes.
Stripe Settings Configuration #
To find the Stripe Integration settings, head to the FoxLMS Plugin > General Settings page > Payments Tab.
Here, click and enable the Status toggle.
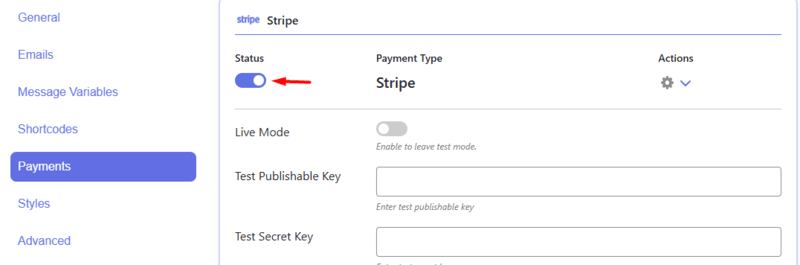
Then, you need to fill in the following inputs:
- Test Publishable Key
- Test Secret Key
- Live Publishable Key
- Live Secret Key
If you want to turn off the Test payment mode and go ahead with the Live mode, then tick the Live Mode toggle.
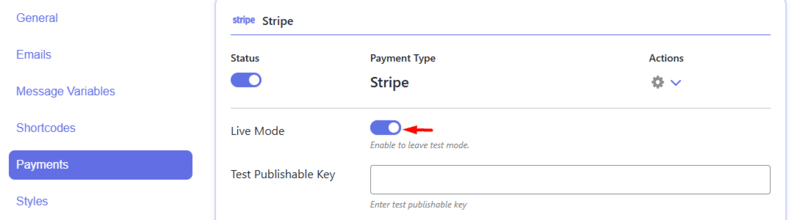
If you are using the Test mode, fill in only the Test Publishable Key and Test Secret Key inputs. If you choose the Live Mode, then, vice versa, fill in the Live Publishable Key and Live Secret Key inputs.
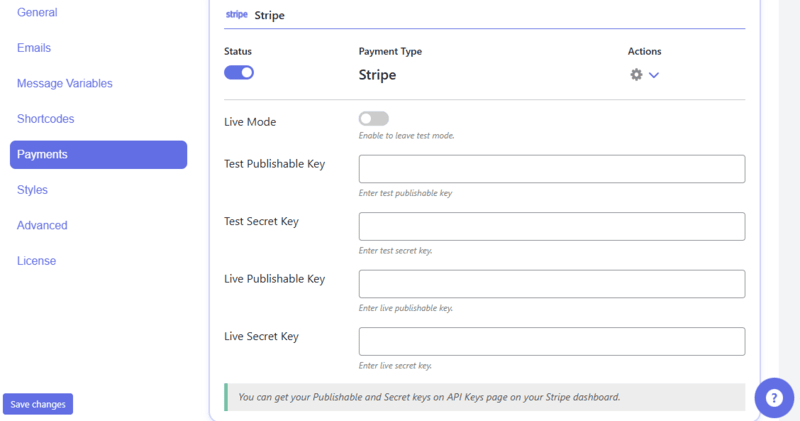
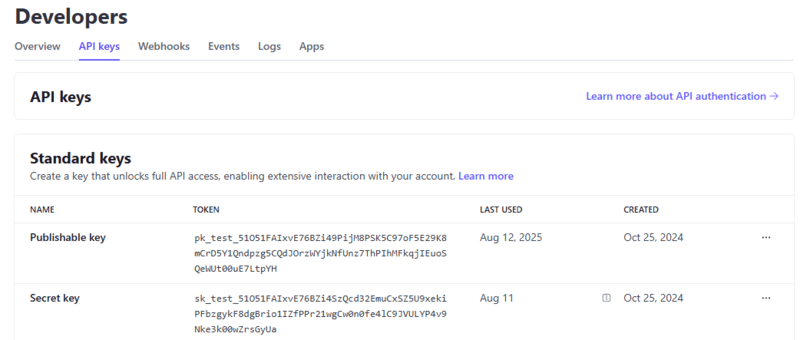
You can get the Publishable and Secret keys on the API Keys page on your Stripe dashboard.
Once you have inserted the Keys, choose the Currency and save the changes.
Enabling Paid Course #
Once you have correctly configured all the settings on the General Settings page, it is high time to enable the payment system for the corresponding course.
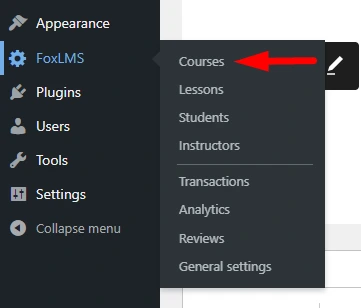
To find the course, head to the WordPress FoxLMS Plugin > Courses page > given course. You can learn more about the Course Settings by checking the article “How to create a course”.
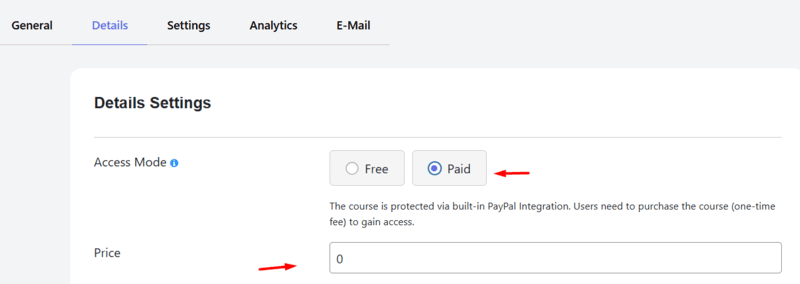
Then, navigate to the Details Tab of the given course. Choose the Paid Access Mode for the Course. Then, specify the price and other settings necessarily. Save the changes afterward.
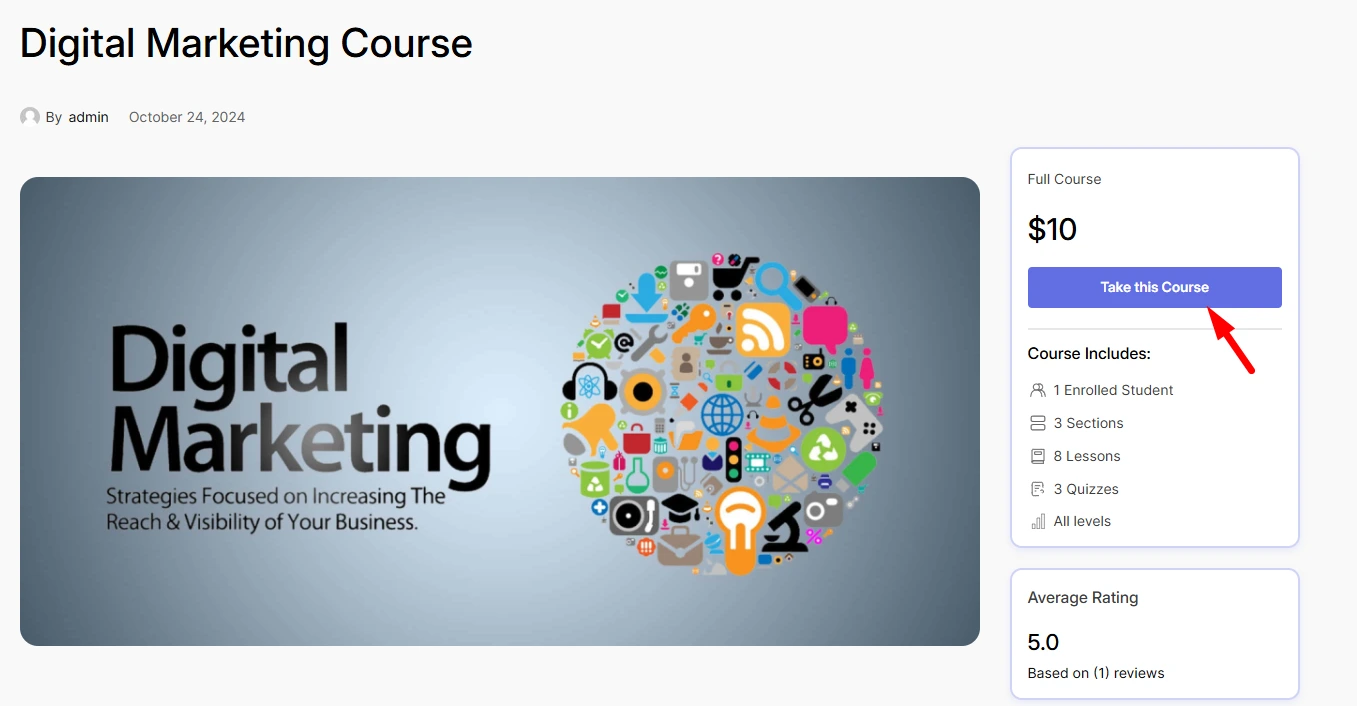
The user needs to click on the Take this Course button, and then make the payment via PayPal. Once the payment is successfully made, the users can enroll in the course and take it.
This is how the Paid Course looks like on the front end:
That’s it. We have learned how to create a paid course with our WordPress FoxLMS Plugin. Make sure to check the WordPress FoxLMS General Overview video to understand how the plugin actually works.


