- What you need to start with
- Option AStep 1: Add a New Course
- Step 2: Add Sections and Lessons
- Step 3: Create Sections
- Step 4: Add a Quiz to the Course (Optional)
- Step 5: Configure Course Settings
- Option B Step 1: Create Lessons Lessons
- Step 2: Create a Quiz to add to the lesson
- Step 3: Add Existing Lessons to the Course
- Adding Courses in Grid View
- Summary
This manual walks through setting up a fundamental course inside WordPress using the Fox LMS extension. One key step involves setting up the course itself. After that comes breaking it down into chunks – pieces like sections and lessons – that help structure learning more clearly.
On top of that, if you want to include testing points, like quizzes, you can slip those in too. Each part fits together without needing every feature right away.
What you need to start with #
To set up a course that includes lessons and dynamic elements such as quizzes you need the Fox LMS installed and activated.
To set up a course with the FoxLMS platform, there are two options.
A: Add a New Course > Add Lessons > Add Quizzes where necessary > Edit the Lesson Content > Publish the Course
B: Create Lessons> Create Quizzes > Create a New course > Add the Existing Lessons and Quizzes to the Course > Publish
Option A
Step 1: Add a New Course #
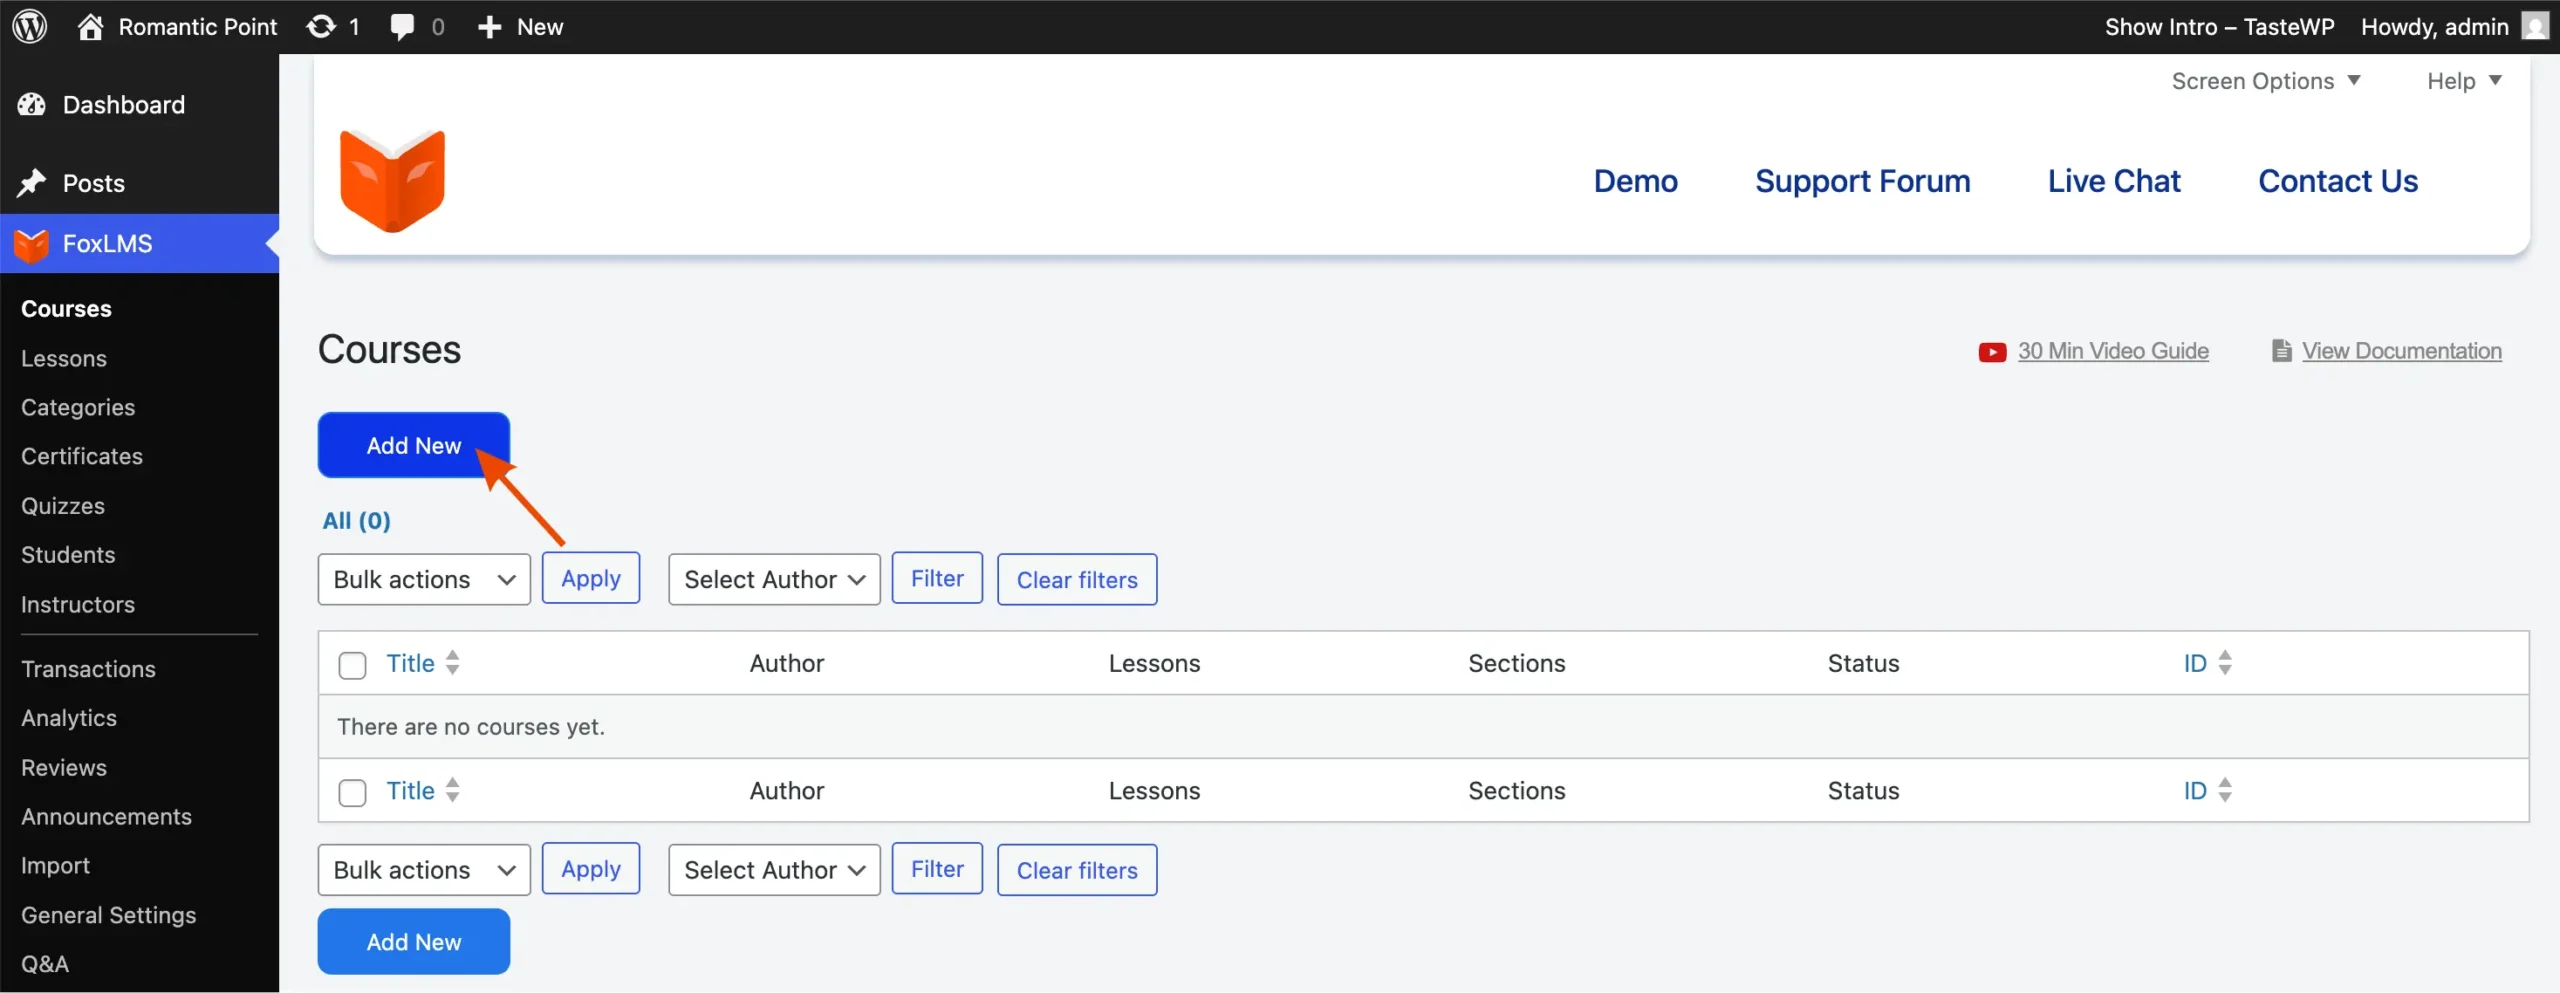
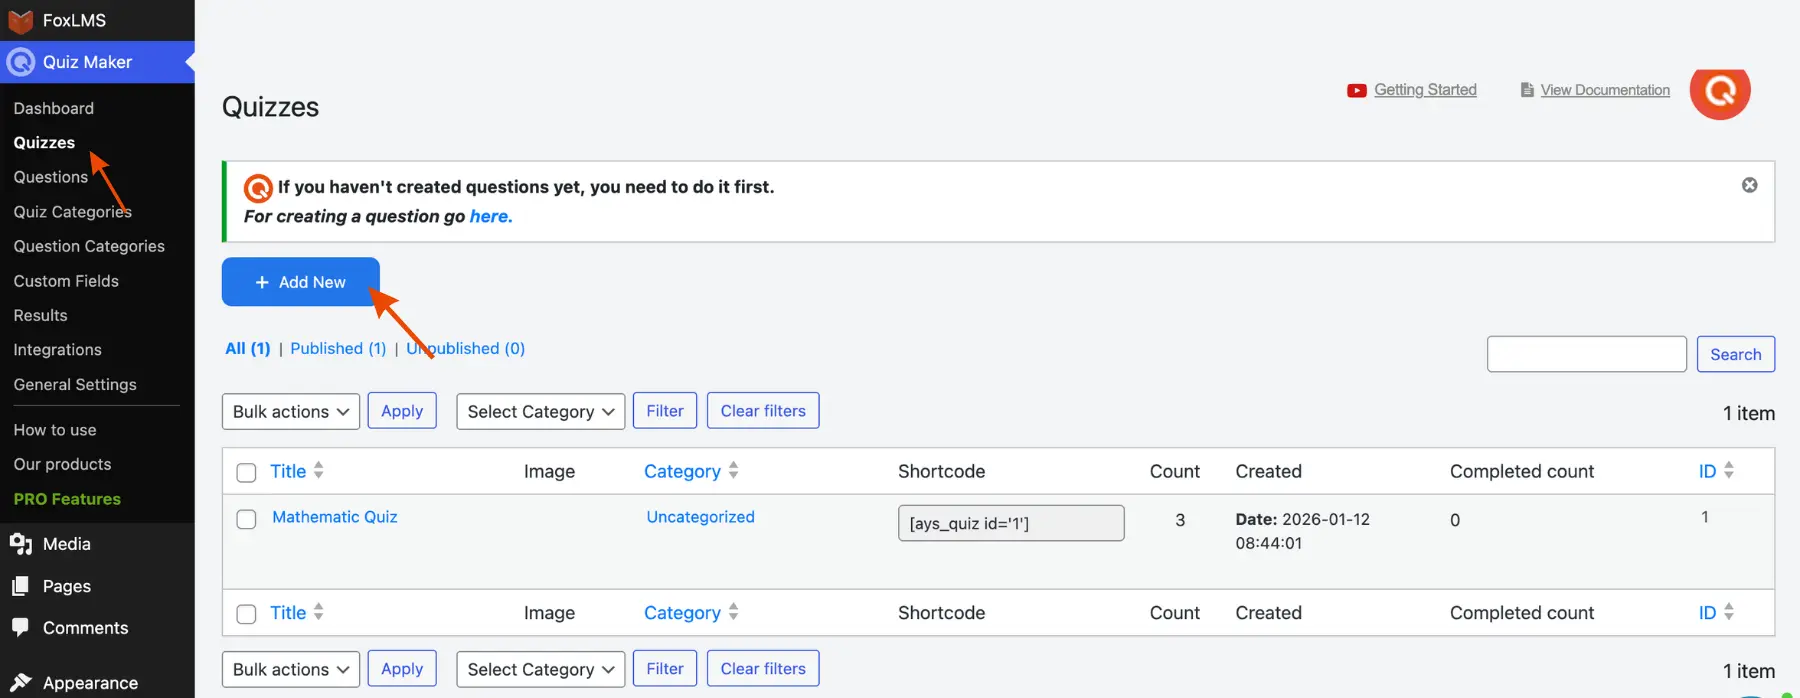
- Go to FoxLMS, then click Courses.
- Start by clicking the “Add New” button.
Once you add a new course add the course name first. This title shows up when people see the course listed on your website.
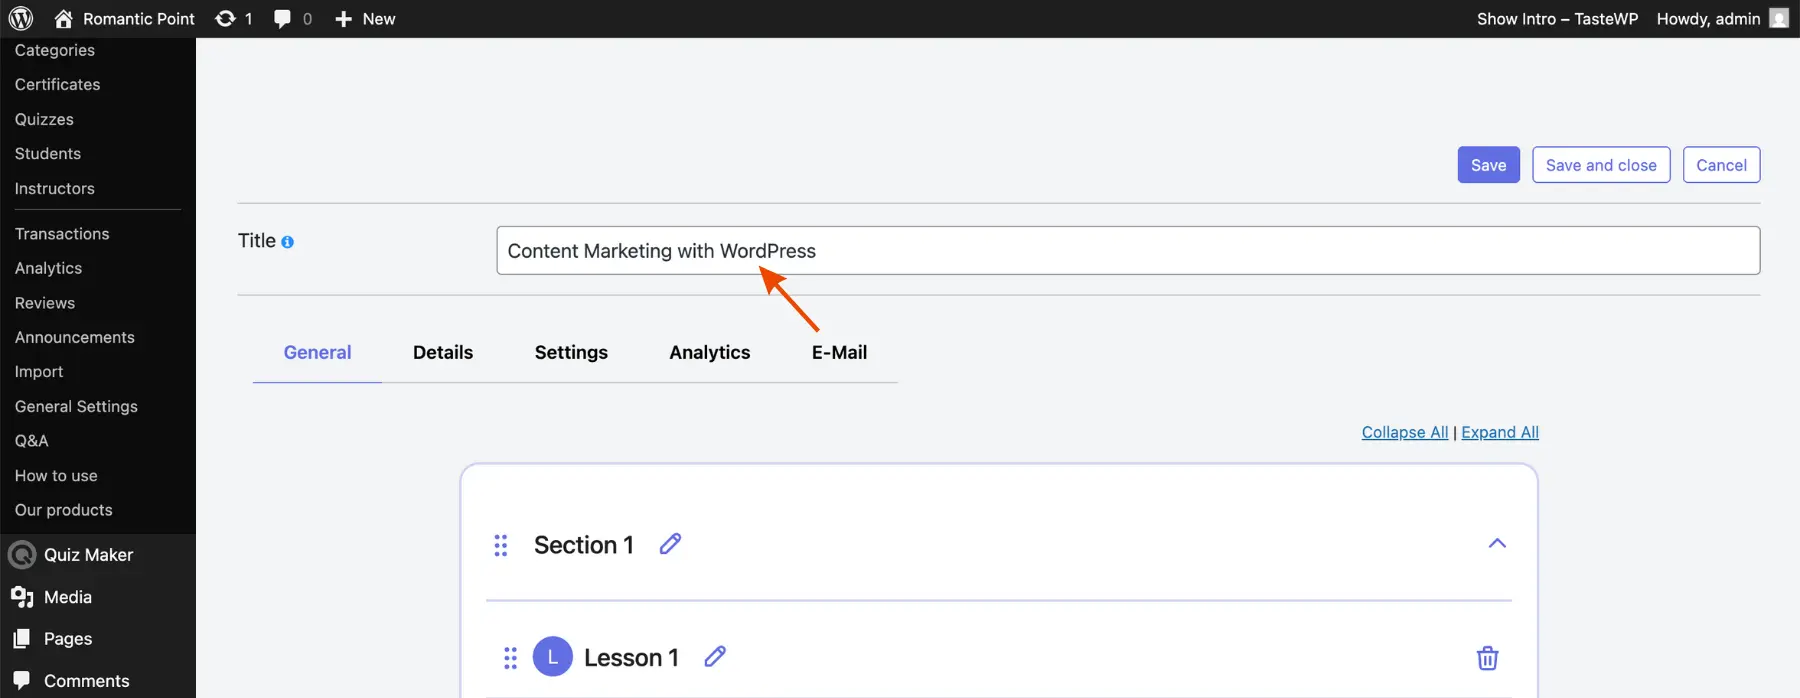
Step 2: Add Sections and Lessons #
Courses split into parts. Inside every part, you’ll find lessons. There are two options to add lessons to the course page.
Option A: Create New Lessons from the Course Page #
- Open the editor by clicking the Add Lesson button.
- Name the lesson
- Edit it straight from the course layout
In order to edit the lessons you need to click the “open new tab” icon next to lessons and edit/create dynamic lessons using elementor editor and blocks.
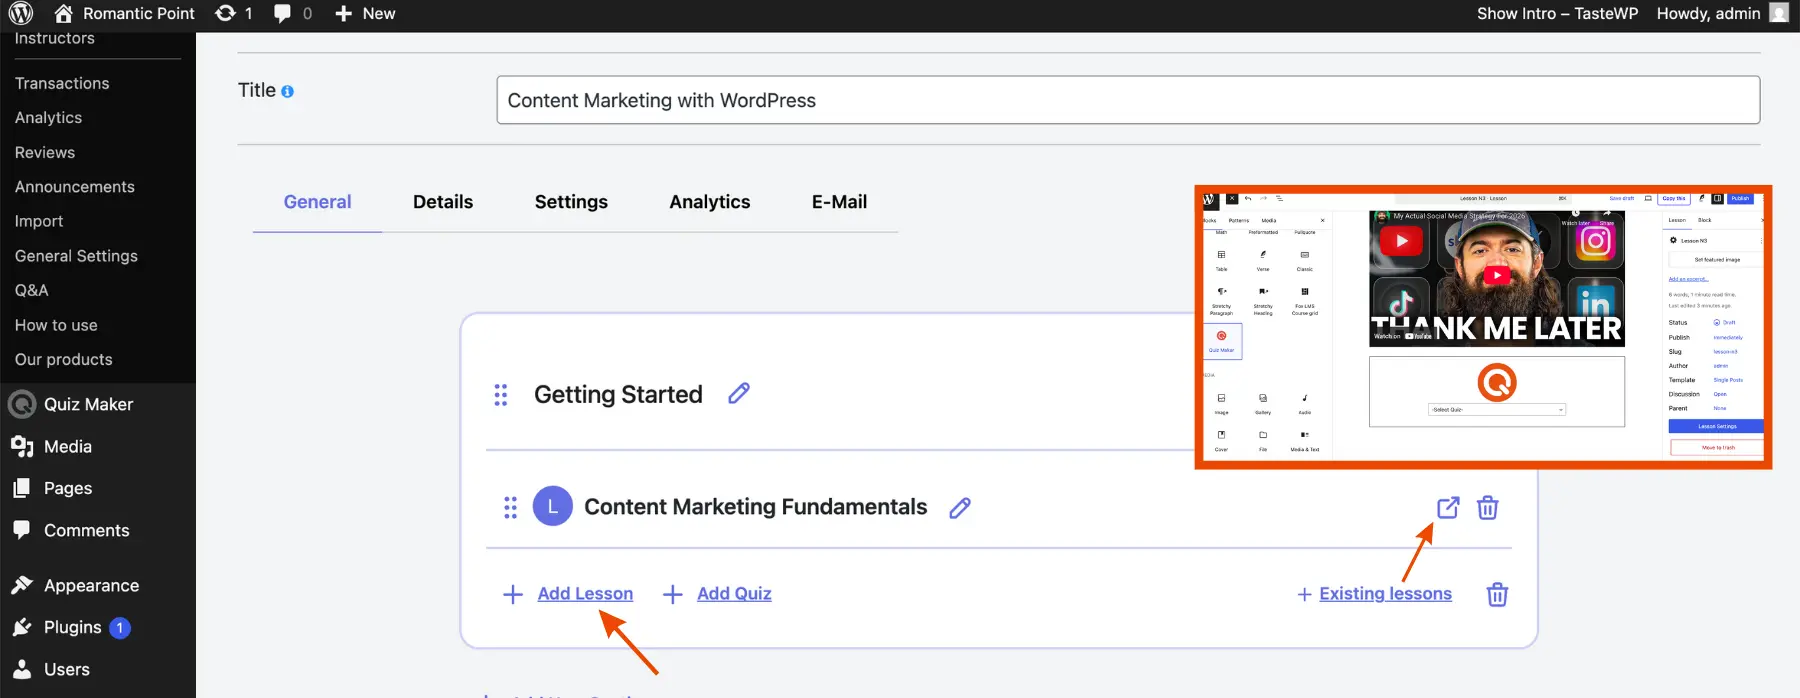
- You can add text, video, images, and even quizzes to all your lessons.
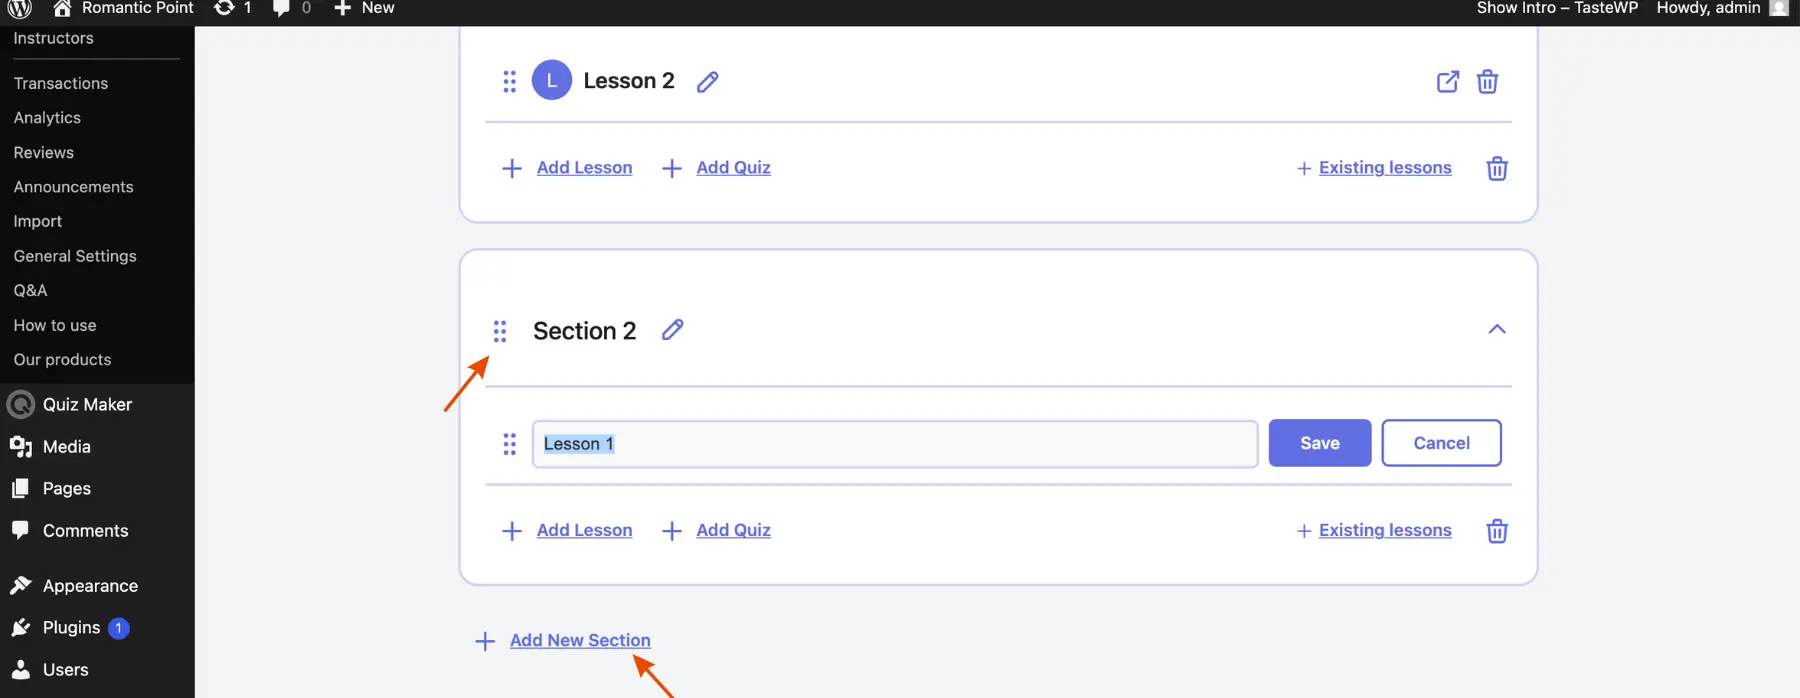
Step 3: Create Sections #
- Click Add Section.
- Enter a section title (for example, “Section 1”).
- Save this part by clicking the save button.
- Add lessons under the section, for example:
- Lesson 1
- Lesson Two
- Keep the course updates.
A sequence like this shapes how students progress through the material, piece by piece.
Step 4: Add a Quiz to the Course (Optional) #
FoxLMS allows quizzes to be added to courses.
Adding a quiz to the course #
- Start by opening the course builder. A button labeled “Add Quiz” appears there in every section. That is where you begin.
- Pick one of the quizzes below.
Creating a Quiz If None Exist #
If no quizzes are available:
- Open FoxLMS then navigate to Quizzes.
- Start by clicking Add New.
- Save the quiz once you have finished making it.
- Go back to the course editor now. Set up the quiz just explained, right above.
Step 5: Configure Course Settings #
When you open the course editor, different sections let you adjust settings across various areas – like this one shows up for tweaking options:
- Course behavior
- Display settings
- Other plugin-specific configurations
Change these parts however fits your needs.
Save and Preview the Course
Save the course now. Then check how it looks later.
- Save the course by clicking the Save button or Save Draft. To do so:
- Go to Settings
- Scroll to find the “Course Status” button
- Set the status to published or drafted
- Once ready, take a moment to see exactly what they will see and make improvements where needed.
Option B
Step 1: Create Lessons Lessons #
In order to create separate lessons you need to go to the Lessons section from the FoxLMS control panel.
- Click “add new” button and create dynamic lessons using elementor editor and blocks.
- You can add text, video, images, and even quizzes to all your lessons.

Step 2: Create a Quiz to add to the lesson #
- Open FoxLMS then navigate to Quizzes.
- Start by clicking Add New.
- Save the quiz once you have finished making it.
- Go back to the course editor now. Set up the quiz just explained, right above.
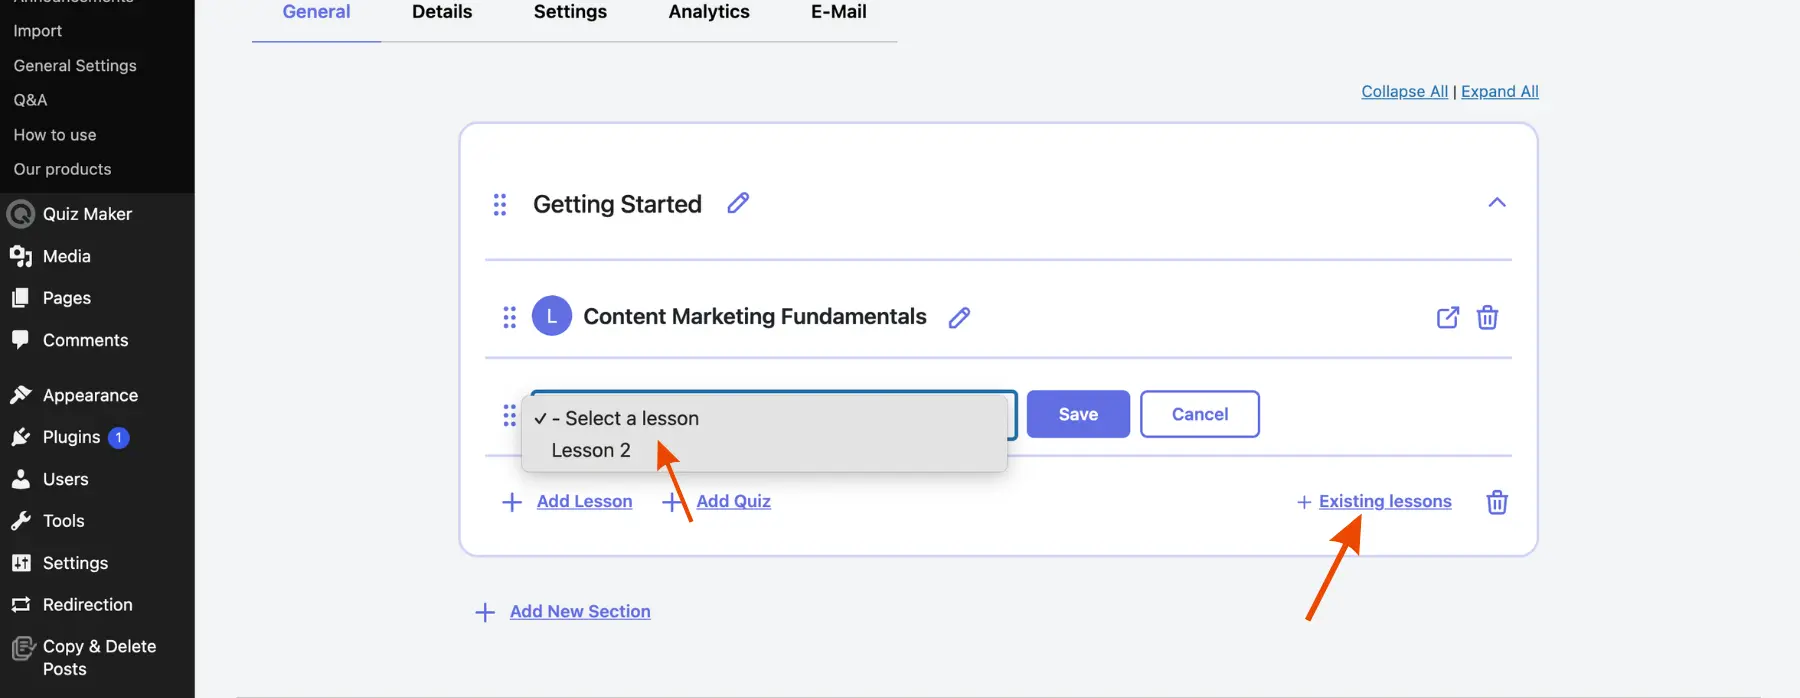
Step 3: Add Existing Lessons to the Course #
Go to FoxLMS, add course, once you get to adding lessons, instead of clicking “add lesson” you need to:
- Click the “existing lesson” button.
- Pick lessons you made before using the Lessons page.
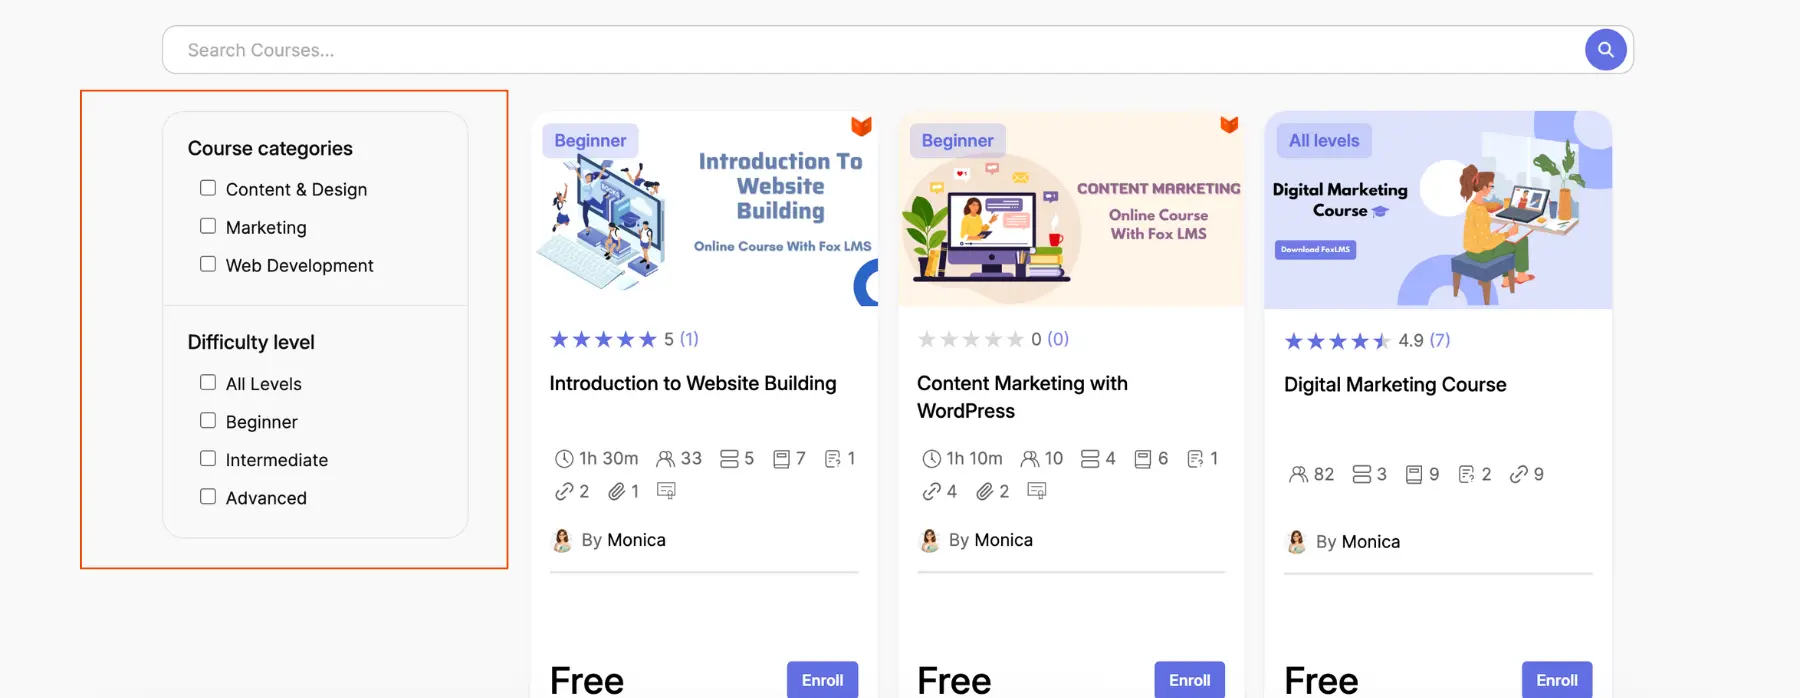
Adding Courses in Grid View #
This allows you to create a separate landing page that will allow your learners to filter through all the courses in one place.
To do this:
- Go to Elementor Block Editor
- Click on Add a new block
- Search for “FoxLMS Course Grid”
- Add and save
Now all your courses are displayed as a grid, with filters such as Course categories and Difficulty levels
Summary #
Using the Fox LMS plugin, you can create a simple course in WordPress by following these steps:
- Add a fresh course option
- Create sections and lessons
- Add quizzes if needed. Sometimes a quick check helps shape things better.
- Configure course settings
- See what comes next up ahead
Content gets shared easily when teachers or admins use this process. One step at a time, it reaches students without hassle.


