When building your e-learning website with FoxLMS, one of the most important steps is showcasing your courses beautifully and effectively. FoxLMS gives you two easy ways to display your courses:
- Using the WordPress Block Editor (Gutenberg)
- Using Elementor Page Builder
In this guide, we’ll walk you step by step through both methods.
Create Your Courses #
Before displaying any courses, you’ll need to create them in your FoxLMS dashboard. If you haven’t done this yet, please follow our detailed guide here: How to Create a Course.
- Create your course(s) with lessons and modules.
- Configure the necessary settings such as pricing, access level, and completion rules.
- Preview the course to make sure everything looks right.
Once your courses are ready, you can move on to displaying them.
Method 1: Display Courses Using the WordPress Block Editor #
The classic way to add course grids is directly from the WordPress Block Editor (Gutenberg).
Step 1: Add a New Post or Page #
From your WordPress dashboard, click Posts > Add New (or Pages > Add New depending on where you want the course grid).
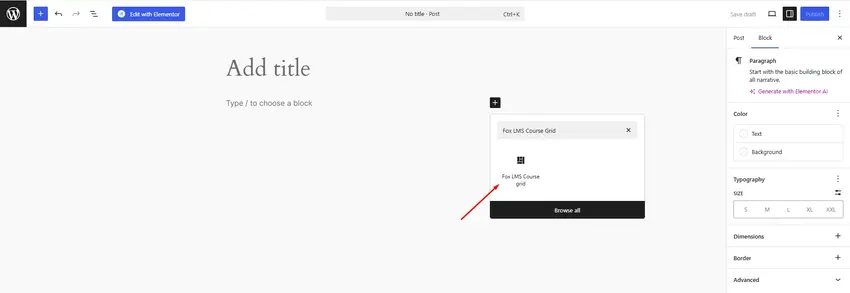
Step 2: Insert the FoxLMS Block #
- Click the plus (+) icon to add a block.
- In the search bar, type Fox LMS Course Grid.
- Select the block to insert it into your post.
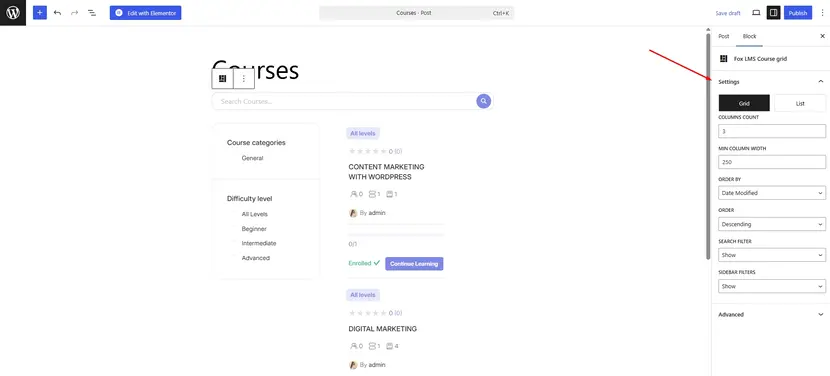
Step 3: Configure the Course Grid Settings #
Once the block is added, you’ll see the Fox LMS Course Grid settings panel on the right-hand side. From here, you can:
- Choose between Grid or List layout.
- Set the number of columns and minimum column width.
- Order courses by ID, Title, Date, or Popularity.
- Show or hide search filters and sidebar filters.
This allows you to fully customize the look of your course display to match your LMS design style.
Method 2: Display Courses Using Elementor #
If you prefer drag-and-drop editing, Elementor is a great choice. FoxLMS integrates seamlessly with Elementor, allowing you to display your course grids visually.
Step 1: Install and Activate Elementor #
From your WordPress dashboard, go to Plugins > Add New and search for Elementor. Install and activate the plugin.
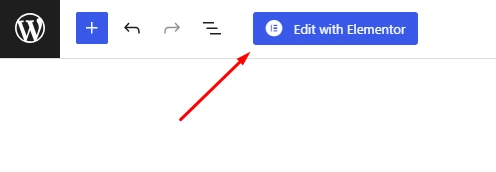
Step 2: Create a New Page with Elementor #
- Add a new post or page.
- At the top, click the Edit with Elementor button.
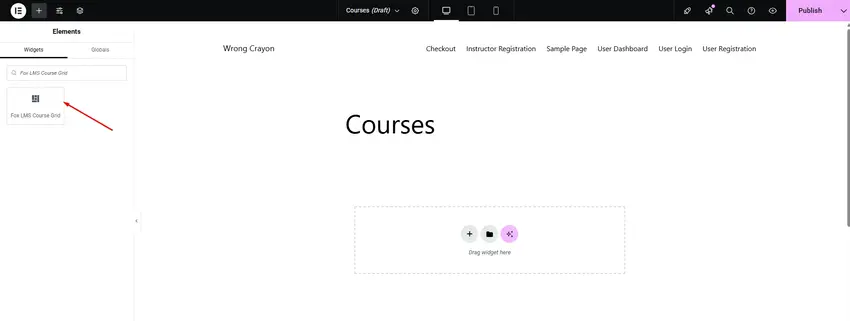
Step 3: Insert the Fox LMS Course Grid Widget #
Inside the Elementor editor:
- Use the left sidebar search box and type Fox LMS Course Grid.
- Drag the widget into your page.
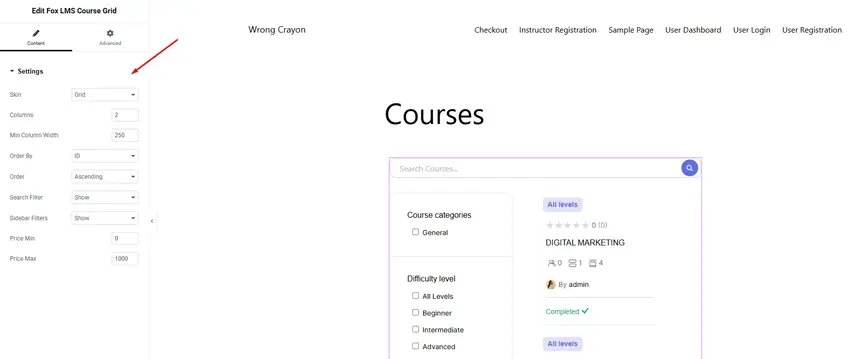
Step 4: Configure the Course Grid #
Similar to the block editor, Elementor allows you to configure:
- Layout (Grid or List)
- Columns and column width
- Ordering options
- Search and sidebar filters
- Price ranges (if applicable)
By following these simple steps, you can showcase your FoxLMS courses in two flexible ways: via the WordPress Block Editor or Elementor. Both methods allow you to fully customize how your courses are displayed, making it easy to match your LMS design with your brand.
Whether you want a clean and simple block layout or a drag-and-drop Elementor experience, FoxLMS ensures that your learners can find and explore your courses effortlessly.
If you have any questions or need help, feel free to reach out to our support team anytime.


